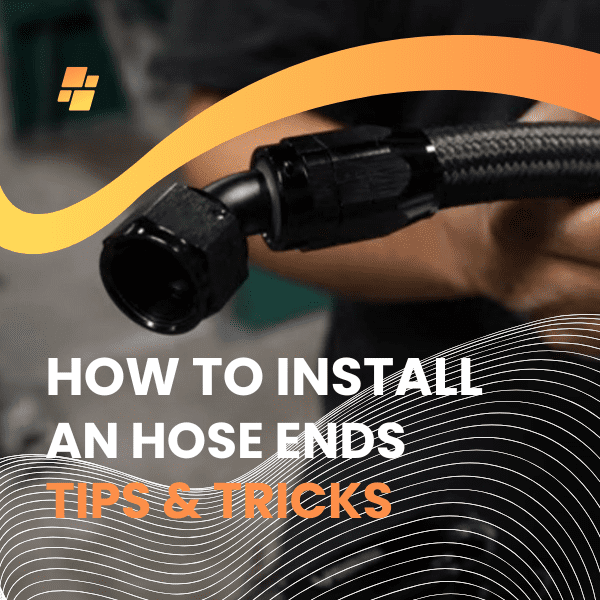
How to Install AN Hose Ends: A Step-by-Step Guide with Tips and Tricks
If you’re building or upgrading your car’s fuel, cooling, or hydraulic systems, one of the most important tasks is ensuring that your hoses are securely connected with the proper hose ends. A well-installed hose end ensures leak-free performance and prevents system failures that can be costly and dangerous. In the above video Phenix partners with Old Anvil Speed Shop to share the top tips and tricks for installing AN hose ends like a pro! Whether you’re a seasoned mechanic or a DIY enthusiast, these expert techniques will help you get a leak-free, professional-looking installation every time.
Tools and Materials You’ll Need:
- Hose
- Hose ends
- Hose cutter or band saw
- Lubricant
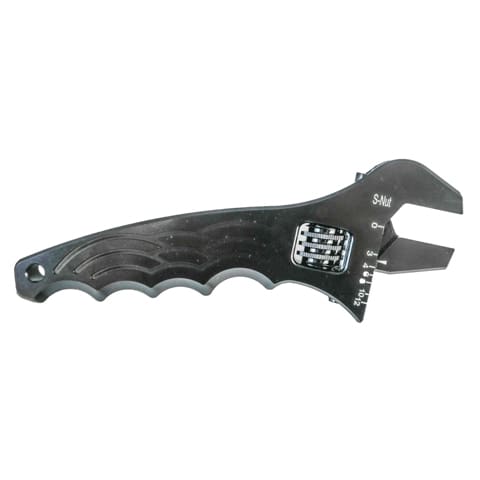
- Hose end wrench or soft-jawed adjustable wrench
Step 1: Select the Right Hose End and Hose Type
Choosing the right hose end and hose type is the foundation of a successful installation. Automotive applications usually require the use of AN (Army-Navy) fittings, as they are designed to handle high pressure and provide a secure, leak-free connection.
- AN Fittings: Common for fuel lines, coolant hoses, and more. They consist of a flared fitting and are available in various angles (straight, 45°, 90°…) to accommodate tight spaces in engine bays.
- PTFE Fittings: Typically used for high pressure applications or corrosion resistance, such as in brake and power steering lines.
- Push-On Fittings: Designed to fit over rubber hoses without clamps, ideal for low-pressure systems like vacuum lines or transmission coolers.
Be sure to choose fittings that are compatible with the hose size (e.g., -6AN, -8AN) and material (e.g., stainless steel braided, rubber, or PTFE).
Step 2: Cut the Hose Cleanly
Proper hose cutting is crucial to avoid leaks and ensure that the fitting seats correctly.
- Mark and Tape Your Cut: Measure the required length and mark it on the hose. Ensure you have enough hose length to accommodate the fitting properly and leave enough room for any bends. Tip: Tape over where you want your cut to keep the hose from fraying.
- Use a Hose Cutter: For braided hoses, use a hose cutter or band saw to make a clean, straight cut. A good cut is vital to prevent the braided material from fraying and to ensure a tight fit with the hose end.
- Clean the Cut Edge: Once the hose is cut, check for any frayed ends or loose fibers, especially if you’re using a braided hose. These can interfere with the fitting’s ability to seat properly. If available use an air hose to blow out any dust residue.
Step 3: Prepare the Hose and Fitting
Now that the hose is cut, it’s time to prepare both the hose and the fitting for installation:
- Clean the Hose: If you’re using a braided hose, you may want to carefully trim or tape back any loose fibers that could interfere with the hose end.
- Lubricate the Hose End: Apply a thin layer of lubricant to both the inside of the hose and the outside of the hose end fitting. This makes it easier to install the fitting without damaging the hose. Use a lubricant like PTFE spray—avoid using oils that could degrade the hose material.
- Insert the Hose End: Gently slide the hose onto the fitting. For AN fittings, you may need to twist the hose slightly to get it to slide past the flare on the fitting. Ensure the hose is fully seated on the fitting, with the hose end completely inside the hose.
Step 4: Tighten the Fitting
Now it’s time to secure the hose end onto the fitting. Proper tightening is critical for a leak-free connection.
- Hand-Tighten the Fitting: First, thread the hose end onto the fitting by hand. Tighten it until it feels snug but don’t over-tighten yet.
- Use the Proper Wrench: Once the hose end is hand-tightened, use a dedicated hose end wrench or anadjustable wrench to tighten it further. Be careful not to overtighten, as this can damage both the fitting and the hose. A good rule of thumb is to tighten the fitting until it feels firm and there is no play, but you don’t want to apply excessive force that could damage the fitting or cause it to strip.
- Check Alignment: Make sure the hose is aligned properly with the fitting. Misalignment can cause strain on the hose and increase the chances of leaks.
Step 5: Pressure-Test the System
Once you’ve installed your hose end, it’s important to test the system for leaks:
- Visual Inspection: Before pressurizing, visually inspect the hose ends for proper seating and alignment. Check the hose ends to make sure the fittings are securely tightened and that the hose isn’t pinched or kinked.
- Pressure Test: For fuel or hydraulic lines, carefully pressure-test the system to check for leaks. This can often be done by running the engine or using a pressure pump (for hydraulic systems). Always have a fire extinguisher nearby when working with fuel systems.
- Re-tighten if Necessary: If you notice any leaks during the pressure test, turn off the engine and tighten the hose end fittings slightly. Retest to ensure there are no leaks.
Tips & Tricks for Automotive Hose End Installation
- Pre-Position Hose Ends: Before installing the hose ends, try to position and angle them so that they will fit into place when the system is fully assembled. This is especially useful when working with tight engine compartments or custom hose runs.
- Use AN Wrenches: AN fittings should always be tightened using hose end wrenches to prevent damage to the fitting’s anodized or polished finish. Regular wrenches can cause the fitting to slip or scratch.
- Do Not Over-Tighten: It’s easy to overtighten AN fittings, but this can cause damage to the threads or flare surface. Tighten only until the fitting feels secure—no need to force it.
- Use the Right Hose Material: Make sure you’re using the correct hose material for your application. Select your hose based on factors such as pressure ratings, corrosion resistance, and operating temperature.
Installing hose ends in your car’s performance or OEM systems may seem intimidating, but with the right tools, technique, and a little patience, you can achieve a reliable, leak-free connection. Whether you’re working with fuel lines, cooling systems, or brake lines, following the steps outlined here, along with the tips provided, will help ensure your hose ends are installed securely and perform well under pressure.
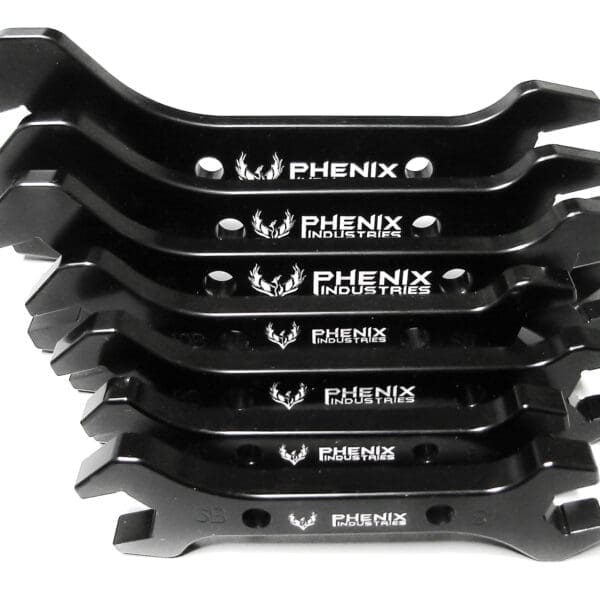
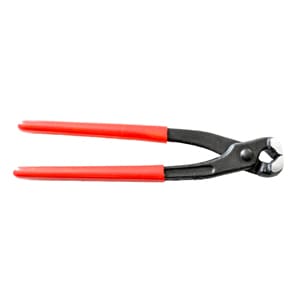
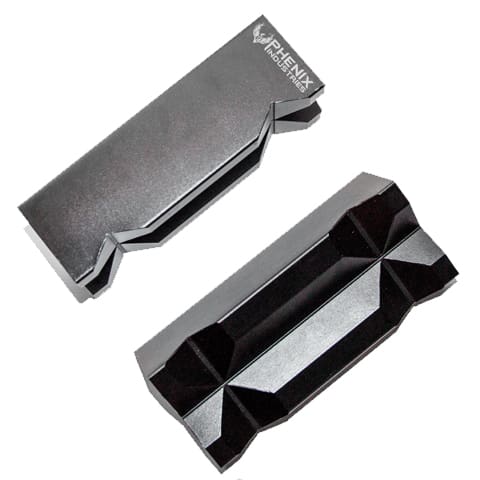
Purchase Tools