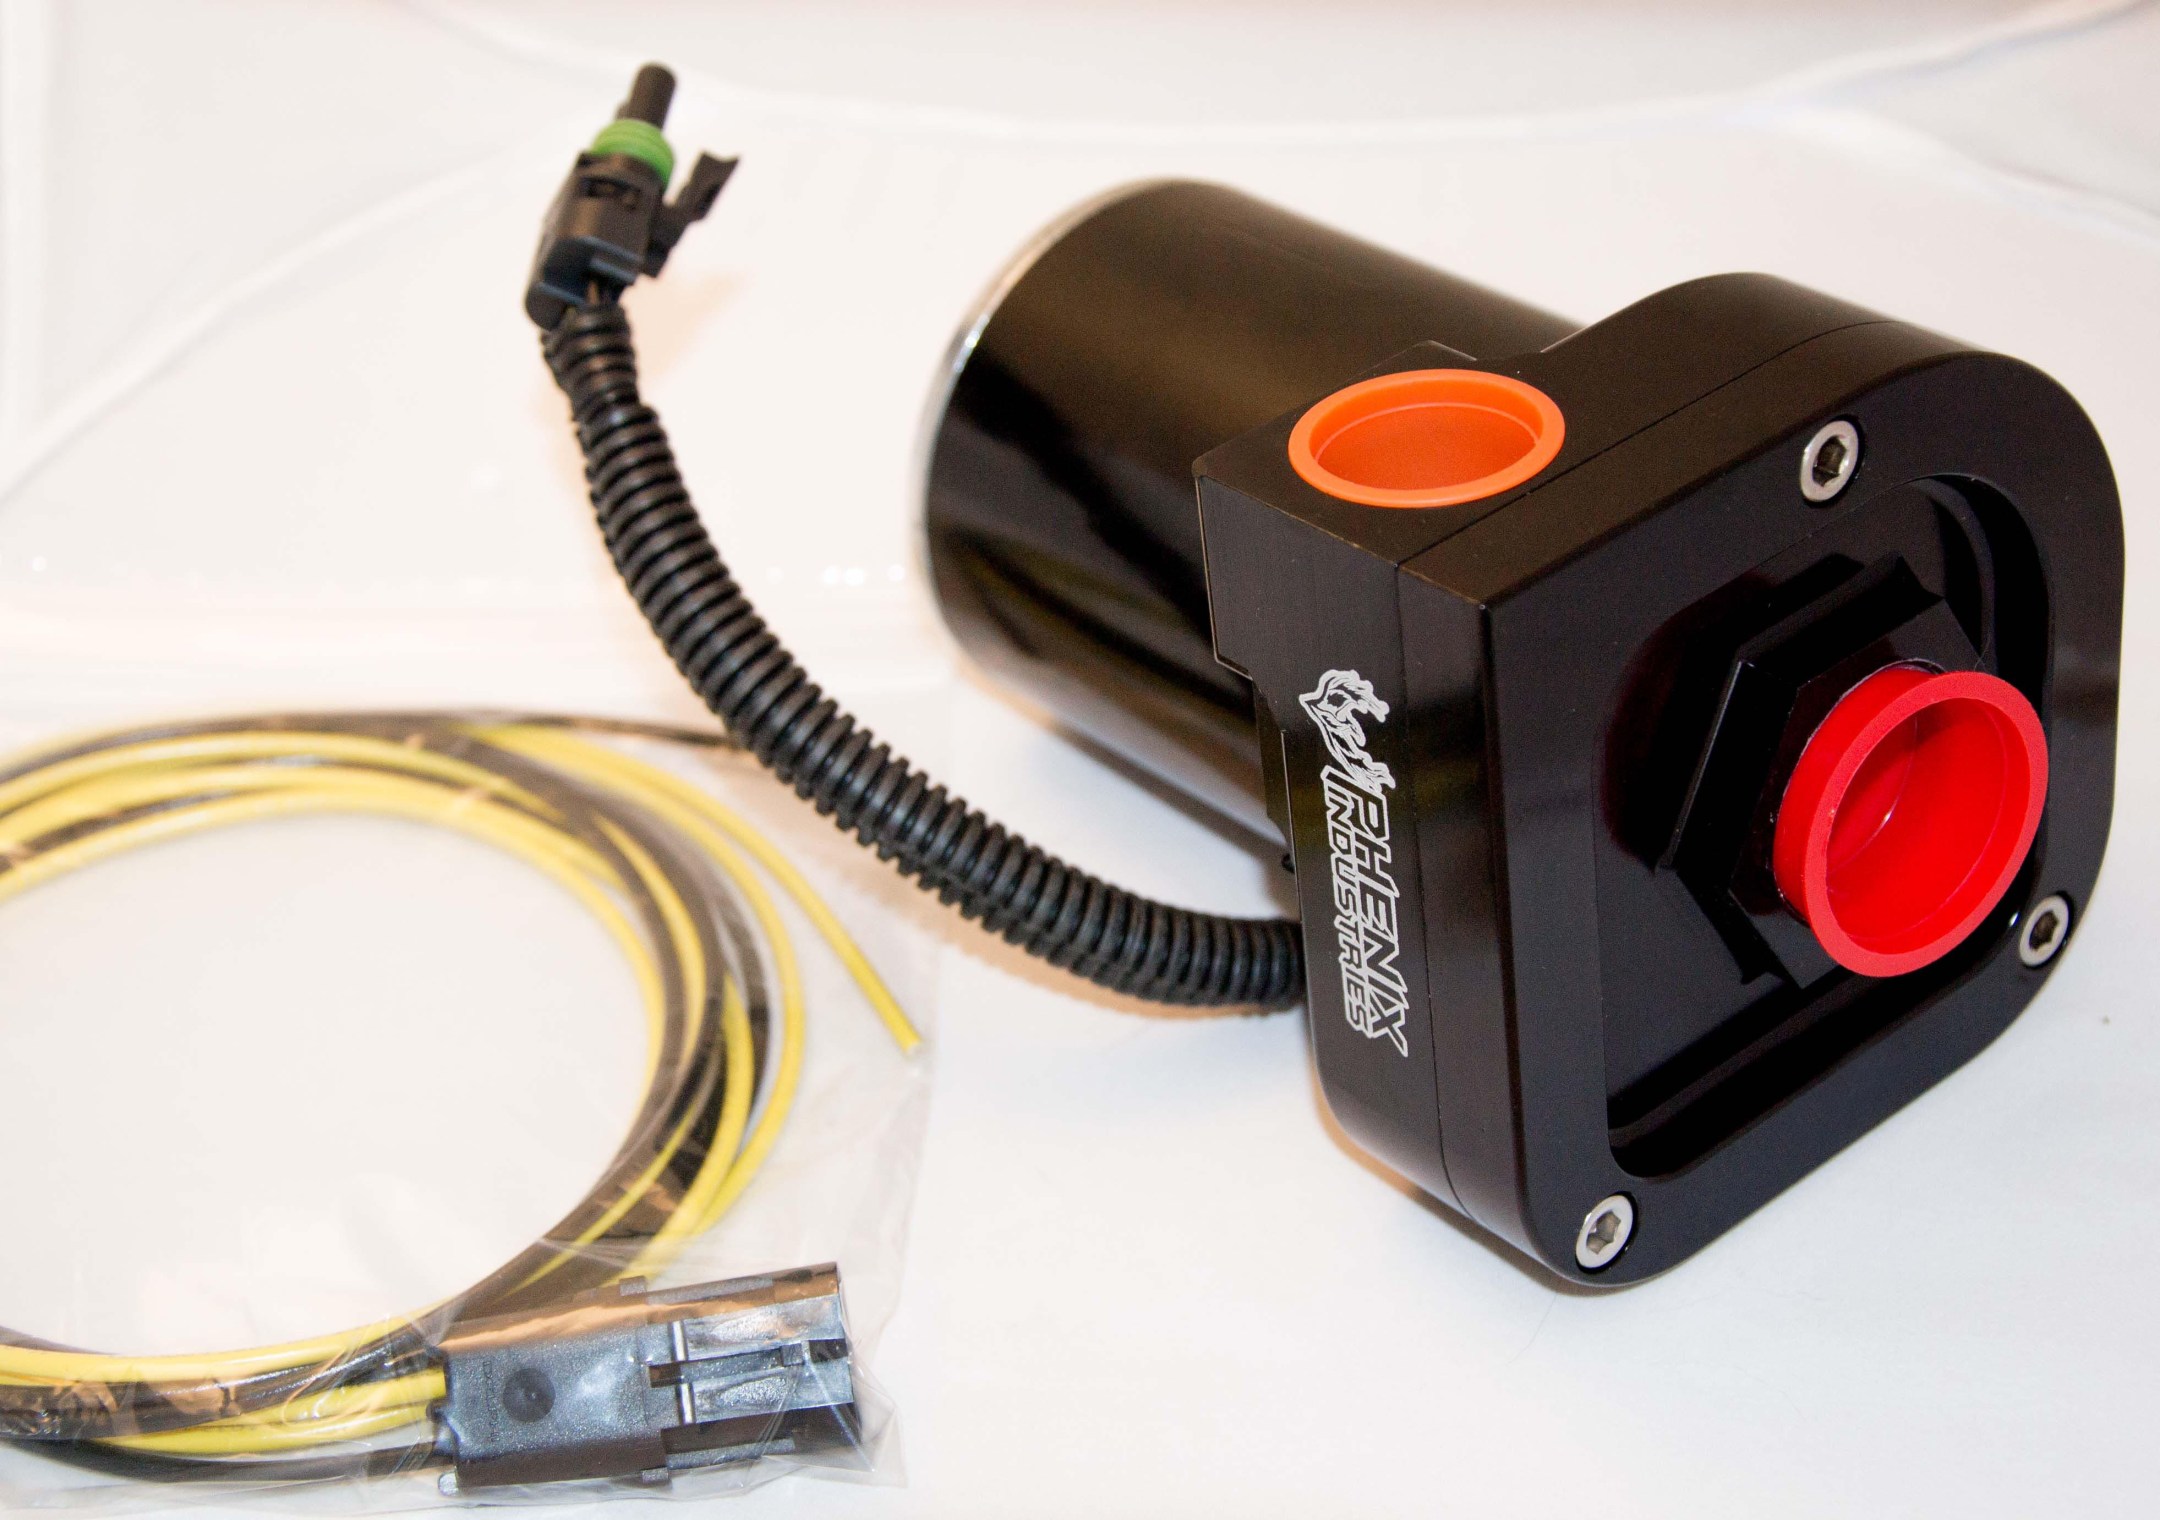
Phenix Debuts New Lightweight Water Pump

Phenix is pleased to announce our new 4lb 2oz lightweight water pump is available for immediate purchase. Each 20 gpm water pump comes with the necessary electrical wiring. Optional mounting brackets are also available for purchase separately.
Like any other quality mechanical device, proper installation and maintenance of the pump will provide a long life of worry-free performance. Please follow the guidelines listed below.
A dirty cooling system will not only damage the pump, but it does not remove heat as efficiently from the engine. Particles suspended in the coolant (rust, dirt, machining residue, etc.) have been known to prematurely wear impellers, and cause seal failure. Flush the entire cooling system before installing the pump. This should be done after any modifications to the cooling system (changing fittings, hoses, etc.), as those modifications can loosen dirt and rust in the engine, heater core, or radiator. It is always good practice to flush the radiator after the vehicle has been sitting for more than four weeks.
Always install the pump so that it can drain completely when the cooling system is drained. This will help rid the pump of dirt and debris, and will help prevent freeze problems in the winter. The pump can be mounted in any vertical orientation. There is only one proper horizontal orientation that provides adequate draining as shown below.

Use any two of the three cover mounting bolts to secure the pump. Do NOT remove all three cover bolts at the same time, as this may cause the cover seal to dislodge from its retaining groove, which may cause it to leak.
The pump must have a flooded suction at the inlet. Always install the pump near the lowest point in the cooling system. The best location is to connect the pump directly (or with a very short hose) to the radiator outlet. Do not run the pump dry – it will cause seal failure!
Always connect the pump to a switched and fused electrical circuit. The switch should be rated for 6 amps at 12 volts D.C. The fuse (or circuit breaker) should be sized between 15 amps and 30 amps. An electrical harness was provided with the pump. The yellow lead should be routed to positive. The black lead should be routed to negative.
Pump Mounting Kit Instructions
These instructions apply to the Pump Mounting Kit only. See separate Pump Installation instructions for proper mounting orientation, electrical requirements, etc. Read these instructions completely before proceeding.
Step 1) Select a Mounting Bracket orientation. Review the diagrams below and select the bracket orientation most suitable to your application.


Keep in mind your orientation may be vertical instead of the horizontal orientation shown above.
Step 2) Attach the Mounting Bracket to the vehicle. The bracket can be formed as required to fit your vehicle, but be careful to keep the area near the pump as flat as possible. Once you have selected a mounting location and orientation, the bracket can be welded or bolted to the vehicle.
Step 3) Hold the pump in position on the bracket and note where the mounting holes line up with the two existing Cover screws. Remove ONLY those two Allen screws, leaving one screw undisturbed. Place the pump against the Mounting Bracket and install the two Hex Head screws (supplied with the Mounting Kit) through the bracket and into the pump where the Allen screws were removed. Tighten the Hex Head screws to approximately 12 Lb-Ft.
Caution:
Aluminum fittings are designed for typical automotive cooling systems. The maximum recommended working pressure is 50 psi. They may physically fit into higher pressure systems, but are not recommended for them.
O-Ring Boss Fittings:
O-Ring Boss fittings use an integral rubber o-ring to seal the fitting to the housing. No special sealing compound is required. However, it is highly recommended that the o-ring be coated with clear petroleum jelly (Vaseline™) before installation. This will help the seal “slide” into position easier.
O-Ring Boss fittings do not need to be extra-tight to seal. Tighten the fitting until the nut part of the fitting is in full contact with the housing. Over-torquing will not make the fitting seal better.
National Pipe Taper Fittings:
In order to give a leak-free joint, it is important with tapered fittings to get proper thread engagement without over-torquing. It is highly recommended that the male pipe threads be coated with a non-hardening pipe thread lubricant/sealant prior to installation. Such compounds are available at most hardware/lumber stores. Those lubricants/sealants with Teflon® give best results. Make sure the lubricant/sealant is suitable for aluminum.
37º Flare Fittings:
Flared fittings are designed to seal with proper torque applied to the female nut. Excessive torque will only result in fitting distortion, which results in a leaky joint. The best method is to tighten the nut to the minimum required to produce a physically tight joint – no more.


